Starting seeds indoors can jumpstart your gardening season, allowing you to grow various plants and giving them a healthy head start. Starting seeds indoors is a rewarding process that can yield robust, vibrant plants ready to thrive outdoors. Here’s a detailed guide on the five essential steps to ensure success.
Step 1: Choose the Right Seeds
Selecting the right seeds is the foundation of success when starting seeds indoors. Some plants thrive when grown from seed indoors, while others do best when sown directly outdoors. Vegetables like tomatoes, peppers, and herbs typically adapt well to indoor starts. For best results:
- Check Seed Viability: Older seeds may have a lower germination rate. Test their viability by placing a few seeds in a damp paper towel; if they sprout within a week, they’re good to go.
- Plan Based on Growth Time: Calculate backward from your local frost-free date to know when to start each seed variety indoors.
- Source Quality Seeds: Whenever possible, opt for organic or non-GMO seeds. They often contain fewer contaminants and have higher growth potential.
Starting seeds indoors with high-quality seeds increases the chance of a productive harvest and resilient plants.
Step 2: Prepare Your Supplies
Gathering the right supplies is essential when starting seeds indoors. Your setup doesn’t need to be complicated, but having the following tools will make the process more manageable and effective:
- Seed Starting Trays and Containers: Seed trays or small pots work well; ensure they have drainage holes.
- Growing Medium: Use a seed-starting soil mix rather than regular garden soil, which may not provide the right texture or nutrients.
- Labels and Markers: Keep track of which seeds you’ve planted to avoid mix-ups.
- Heat Source: Certain seeds, like tomatoes and peppers, germinate faster with bottom heat. Heat mats can help maintain the ideal temperature.
Organizing your supplies beforehand makes starting seeds indoors easier and more efficient, reducing stress and errors during planting.
Step 3: Create the Ideal Environment
Creating an ideal environment is critical for the successful growth of seedlings. Starting seeds indoors means you can control conditions, which often results in healthier plants:
- Light: Place seedlings under grow lights or by a sunny window. Natural light alone might not be sufficient in early spring, so consider using LED grow lights to ensure they receive 12-16 hours of light daily.
- Temperature: Maintain a warm temperature for seed germination, typically between 65°F and 75°F. Once they sprout, seedlings generally grow best at cooler temperatures of around 60°F.
- Humidity and Airflow: Covering trays with a humidity dome can help seeds germinate. Once seedlings emerge, remove the cover to avoid excess moisture. Lightly running a fan nearby helps prevent mold and strengthens the plants.
Maintaining these environmental conditions will keep your plants sturdy and prepared for outdoor transplantation, making starting seeds indoors a step toward healthier, more resilient plants.
Step 4: Water and Feed Properly
Watering and feeding seedlings are essential parts of starting seeds indoors. However, too much or too little can lead to poor growth or disease. Here’s how to strike the right balance:
- Watering: Keep the soil consistently moist but not waterlogged. Use a spray bottle to lightly mist the soil without disturbing the seeds. Bottom watering, where you fill the tray with water and allow it to soak up, is an effective method.
- Fertilizing: Seedlings need nutrients once they develop their first true leaves. To avoid overfeeding, use a diluted liquid fertilizer formulated for seedlings.
- Avoid Overwatering: Too much moisture can lead to damping-off, a common fungal problem in seedlings. Ensure pots have drainage holes and only water when necessary.
By managing water and nutrients carefully, you’ll prevent common issues and support steady, healthy growth when starting seeds indoors.
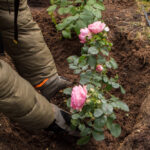
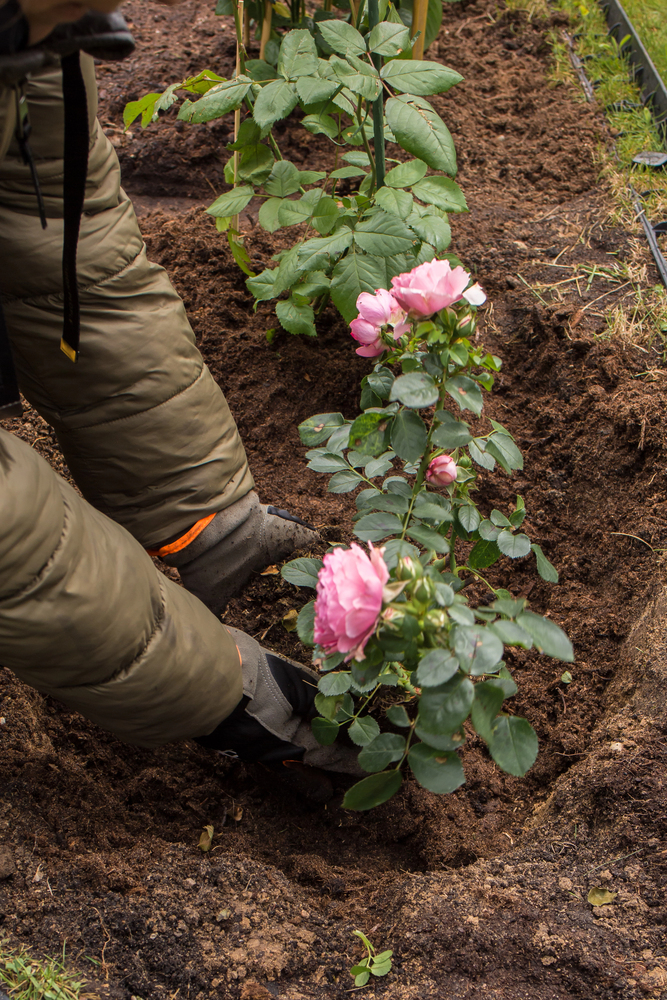
Step 5: Transition to the Outdoors (Hardening Off)
The final stage of starting seeds indoors is the transition, or “hardening off” process. This step helps prepare seedlings for the challenges of outdoor life, such as wind, sun, and temperature fluctuations:
- Start Slowly: Place seedlings outside in a shaded area for a few hours, then bring them back indoors. Gradually increase their time outdoors and exposure to sunlight.
- Increase Exposure Gradually: After a few days, let them spend more time in direct sunlight, slowly reducing their indoor time over one to two weeks.
- Monitor Weather: Avoid exposing seedlings to extreme temperatures or heavy rain during this transition. If frost is forecasted, bring them back indoors to protect them.
Hardening off is essential for successfully starting seeds indoors, as it reduces transplant shock and gives plants a better chance to thrive once permanently planted outdoors.
Reference
For more detailed scientific insights on starting seeds indoors and plant growth, see this study from the National Center for Biotechnology Information: https://www.ncbi.nlm.nih.gov/.